测试cuda程序
#include <stdio.h>

#include <cuda.h>

__global__ void add(int* a, int* b, int* c) {

    int idx = blockIdx.x * blockDim.x + threadIdx.x;

    c[idx] = a[idx] + b[idx];

}


void  cuda_test(int n) {

    int *a, *b, *c;

    int size = n * sizeof(int);


    // Allocate memory on the host

    a = (int*)malloc(size);

    b = (int*)malloc(size);

    c = (int*)malloc(size);


    // Initialize arrays

    for (int i = 0; i < n; i++) {

        a[i] = i;

        b[i] = i;

    }


    // Allocate memory on the device

    int *d_a, *d_b, *d_c;

    cudaMalloc(&d_a, size);

    cudaMalloc(&d_b, size);

    cudaMalloc(&d_c, size);


    // Copy input data from host to device

    cudaMemcpy(d_a, a, size, cudaMemcpyHostToDevice);

    cudaMemcpy(d_b, b, size, cudaMemcpyHostToDevice);


    // Launch kernel on the device

    int threadsPerBlock = 256;

    int blocksPerGrid = (n + threadsPerBlock - 1) / threadsPerBlock;

    add<<<blocksPerGrid, threadsPerBlock>>>(d_a, d_b, d_c);


    // Copy output data from device to host

    cudaMemcpy(c, d_c, size, cudaMemcpyDeviceToHost);


    // Print results

    for (int i = 0; i < n; i++) {

        printf("%d + %d = %d\n", a[i], b[i], c[i]);

    }


    // Cleanup

    free(a);

    free(b);

    free(c);

    cudaFree(d_a);

    cudaFree(d_b);

    cudaFree(d_c);


}

int main(){

    cuda_test(1024);

    return 0;

}
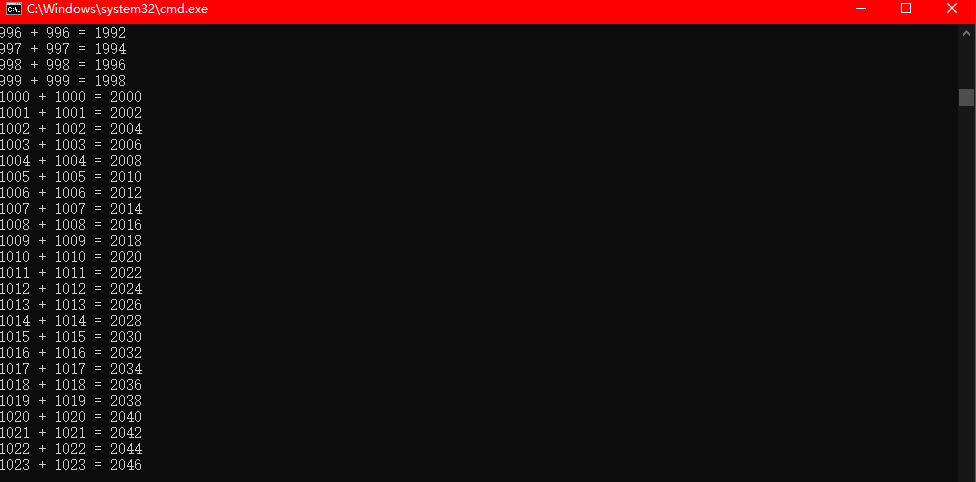
打开VS2013 x64 兼容工具命令提示,切换到程序所在目录,使用nvcc编译
nvcc cudatest.cu -o a.exe
得到可执行的a.exe文件,运行的效果
动态库
源码
#include <stdio.h>

#include <cuda.h>


__global__ void add(int* a, int* b, int* c) {

    int idx = blockIdx.x * blockDim.x + threadIdx.x;

    c[idx] = a[idx] + b[idx];

}

extern "C"

void __declspec(dllexport) cuda_test(int n) {

    int *a, *b, *c;

    int size = n * sizeof(int);


    // Allocate memory on the host

    a = (int*)malloc(size);

    b = (int*)malloc(size);

    c = (int*)malloc(size);


    // Initialize arrays

    for (int i = 0; i < n; i++) {

        a[i] = i;

        b[i] = i;

    }


    // Allocate memory on the device

    int *d_a, *d_b, *d_c;

    cudaMalloc(&d_a, size);

    cudaMalloc(&d_b, size);

    cudaMalloc(&d_c, size);


    // Copy input data from host to device

    cudaMemcpy(d_a, a, size, cudaMemcpyHostToDevice);

    cudaMemcpy(d_b, b, size, cudaMemcpyHostToDevice);


    // Launch kernel on the device

    int threadsPerBlock = 256;

    int blocksPerGrid = (n + threadsPerBlock - 1) / threadsPerBlock;

    add<<<blocksPerGrid, threadsPerBlock>>>(d_a, d_b, d_c);


    // Copy output data from device to host

    cudaMemcpy(c, d_c, size, cudaMemcpyDeviceToHost);


    // Print results

    for (int i = 0; i < n; i++) {

        printf("%d + %d = %d\n", a[i], b[i], c[i]);

    }


    // Cleanup

    free(a); free(b); free(c);

    cudaFree(d_a); cudaFree(d_b); cudaFree(d_c);


}
说明
extern "C" 支持c语言形式导出名
__declspec(dllexport) 动态库符号导出
__declspec(dllimport) 动态库符号导入
编译生成动态库
使用nvcc命令生成dllcudatest.dll动态库文件
nvcc -m32 --shared cudatestdyn.cu -o dllcudatest.dll

cudatestdyn.cu


   正在创建库 dllcudatest.lib 和对象 dllcudatest.exp
-m32 生成的动态库位数,如果是需要64位动态库则是-m64
生成了dllcudatest.dll、dllcudatest.exp、dllcudatest.lib三个文件

使用动态库文件
1.新建win32命令窗口项目,将动态库导出的lib文件放到项目目录下
2.添加一个源文件
#include <Windows.h>

#pragma comment(lib,"dllcudatest.lib")//加载动态库导出文件

extern "C"

void __declspec(dllimport) cuda_test(int);//动态库导入函数声明

int main(){

    cuda_test(1024);//使用库函数功能

    system("pause");

    return 0;

}
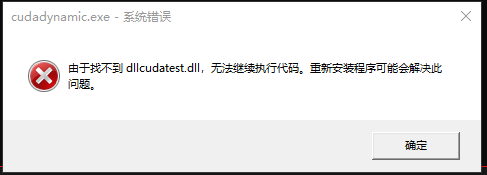
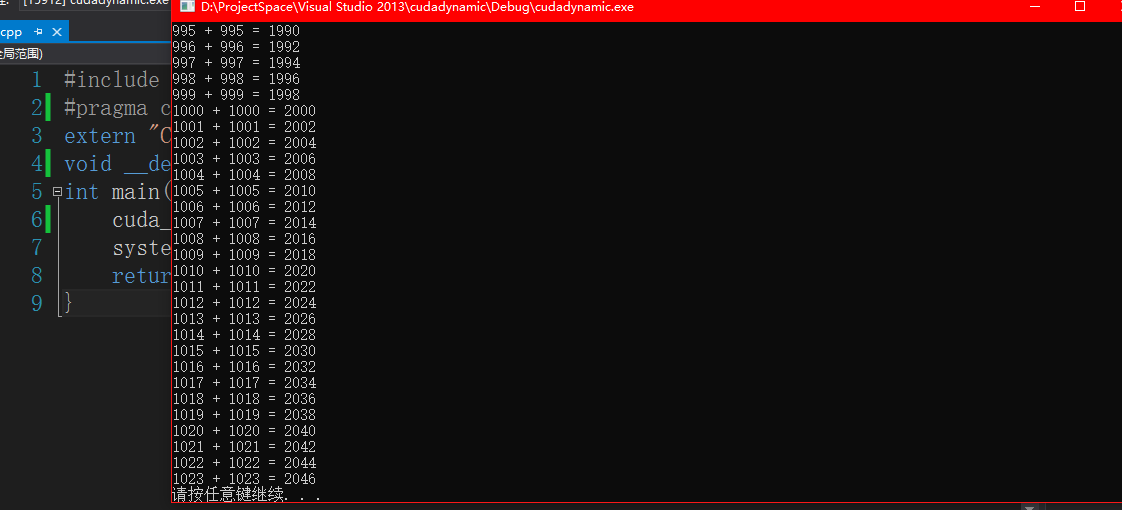
3.编译连接,运行,会提示找不到动态库文件,将生成的动态库文件放入到程序的运行目录下,所在项目的Debug或者Release文件夹。
运行成功
静态库
源码
#include <stdio.h>

#include <cuda.h>

__global__ void add(int* a, int* b, int* c) {

    int idx = blockIdx.x * blockDim.x + threadIdx.x;

    c[idx] = a[idx] + b[idx];

}

extern "C"

void  cuda_test(int n) {

    int *a, *b, *c;

    int size = n * sizeof(int);


    // Allocate memory on the host

    a = (int*)malloc(size);

    b = (int*)malloc(size);

    c = (int*)malloc(size);


    // Initialize arrays

    for (int i = 0; i < n; i++) {

        a[i] = i;

        b[i] = i;

    }


    // Allocate memory on the device

    int *d_a, *d_b, *d_c;

    cudaMalloc(&d_a, size);

    cudaMalloc(&d_b, size);

    cudaMalloc(&d_c, size);


    // Copy input data from host to device

    cudaMemcpy(d_a, a, size, cudaMemcpyHostToDevice);

    cudaMemcpy(d_b, b, size, cudaMemcpyHostToDevice);


    // Launch kernel on the device

    int threadsPerBlock = 256;

    int blocksPerGrid = (n + threadsPerBlock - 1) / threadsPerBlock;

    add<<<blocksPerGrid, threadsPerBlock>>>(d_a, d_b, d_c);


    // Copy output data from device to host

    cudaMemcpy(c, d_c, size, cudaMemcpyDeviceToHost);


    // Print results

    for (int i = 0; i < n; i++) {

        printf("%d + %d = %d\n", a[i], b[i], c[i]);

    }


    // Cleanup

    free(a);

    free(b);

    free(c);

    cudaFree(d_a);

    cudaFree(d_b);

    cudaFree(d_c);


}
编译静态库
使用nvcc编译
nvcc -m32 --lib cudateststa.cu -o libcudatest.lib
生成一个lib文件

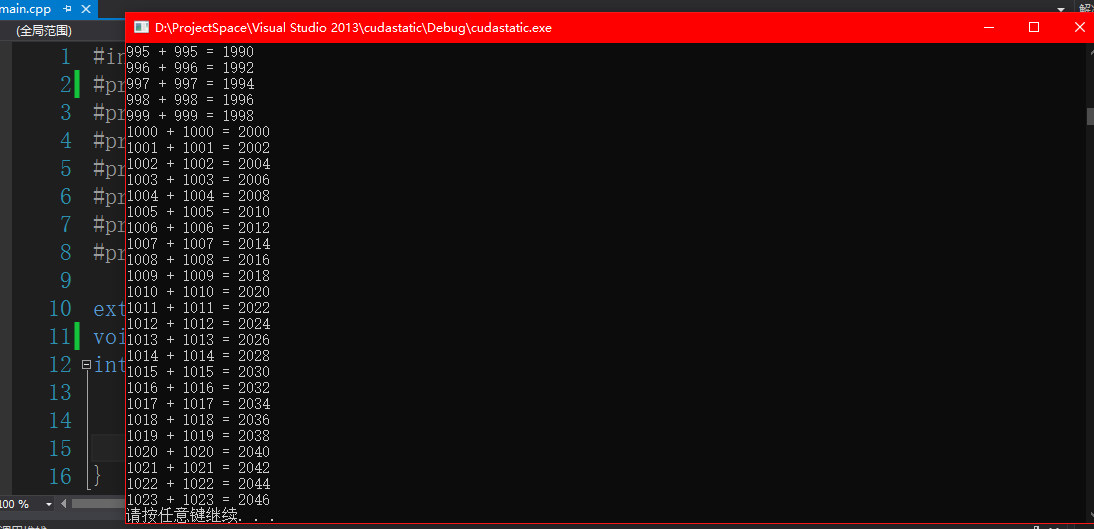
使用静态库文件
1.新建一个win32命令窗口项目,将静态库lib文件放入到项目目录
2.静态库编译链接时需要cuda静态库支持。在cuda的库目录使用下面的命令得到所有lib文件名称,并且加入编译项
dir /B *.lib
3.新建源代码
#include <Windows.h>

#pragma comment(lib,"libcudatest.lib")//导入静态库

#pragma comment(lib,"D:\\BuildChanTools\\NVDIA GPU Computing Toolkit\\lib\\Win32\\cuda.lib")

#pragma comment(lib,"D:\\BuildChanTools\\NVDIA GPU Computing Toolkit\\lib\\Win32\\cudadevrt.lib")

#pragma comment(lib,"D:\\BuildChanTools\\NVDIA GPU Computing Toolkit\\lib\\Win32\\cudart.lib")

#pragma comment(lib,"D:\\BuildChanTools\\NVDIA GPU Computing Toolkit\\lib\\Win32\\cudart_static.lib")

#pragma comment(lib,"D:\\BuildChanTools\\NVDIA GPU Computing Toolkit\\lib\\Win32\\nvcuvid.lib")

#pragma comment(lib,"D:\\BuildChanTools\\NVDIA GPU Computing Toolkit\\lib\\Win32\\OpenCL.lib")


extern "C"

void cuda_test(int);//函数声明

int main(){

    cuda_test(1024);

    system("pause");

    return 0;

}
4.运行