USB boot drive
In simple terms, the purpose of a USB boot drive is to allow you to run an independent operating system directly from the USB drive without relying on the computer's hard drive.
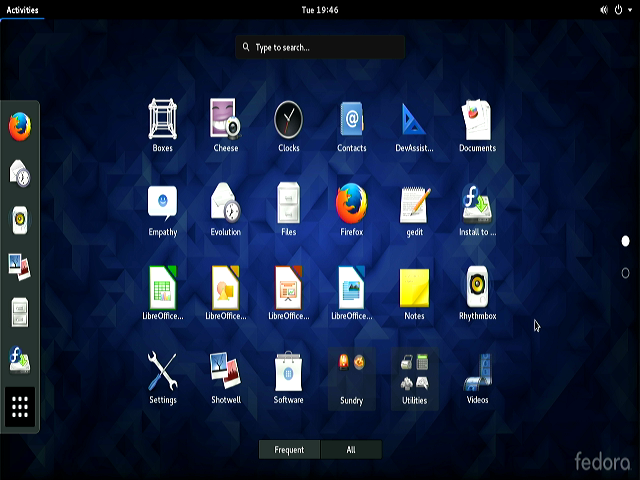
For example, if you want to try Linux distributions like Ubuntu but don't want to install them directly on the hard drive, many Linux boot drives support a 'try mode,' which lets you run the full system directly from the USB drive without affecting your computer's existing Windows. If you find it useful, you can then click the 'Install' icon on the desktop to install it on the hard drive.
You can also burn the Windows system to a USB boot drive. Afterwards, you can boot from this USB drive and install the Windows system.
Common USB boot drive creation tools include: Rufus, UNetbootin, USBWriter, Ventoy.
Below, I will introduce how to use Rufus or UNetbootin to create a USB boot drive. All operations are carried out in the Windows system
First, you need to prepare the operating system image file. I currently have a system image: Fedora-Live-Workstation-x86_64-23-10.iso
Rufus
Rufus official website address: https://rufus.ie/en/
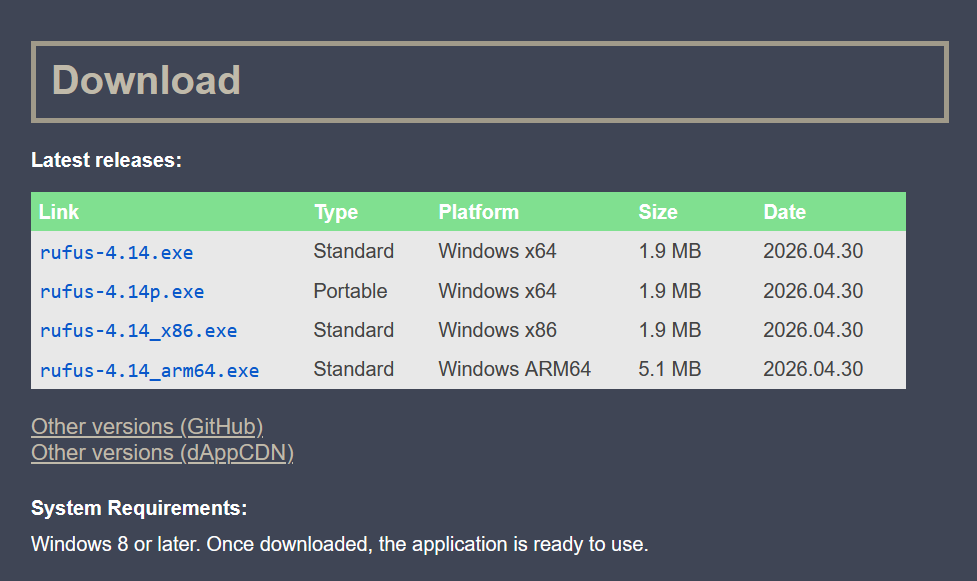
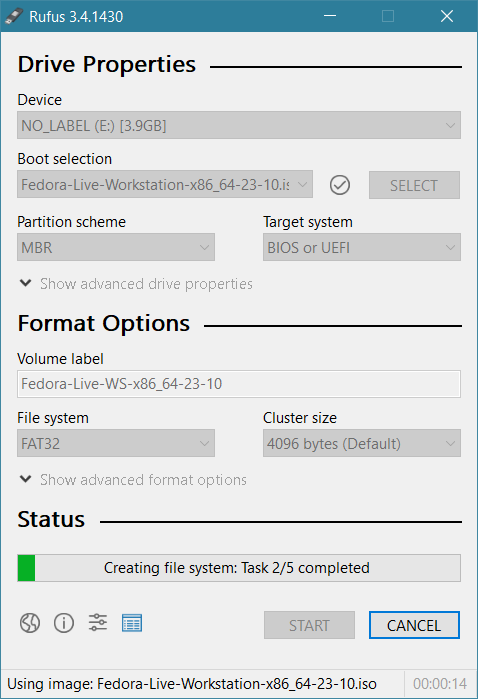
After downloading, you can directly click to run. You need to select the target USB device to write to, choose the system image to write, and then click start to begin.

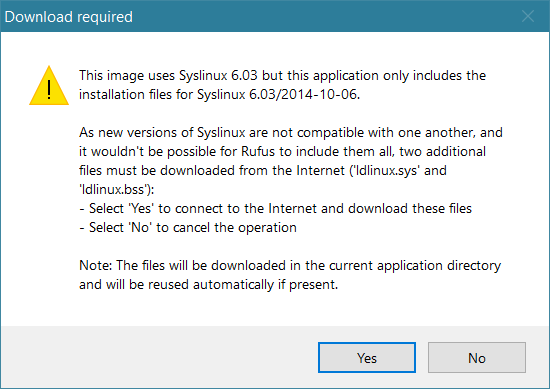
It seems to want to connect to the internet to download missing files. Click yes, and it quickly finishes downloading.
Select the default write mode
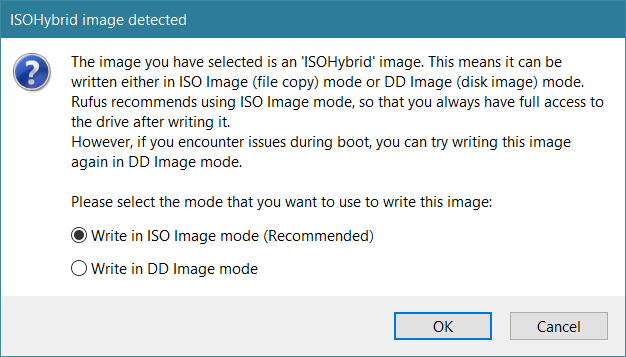
Click OK

Writing
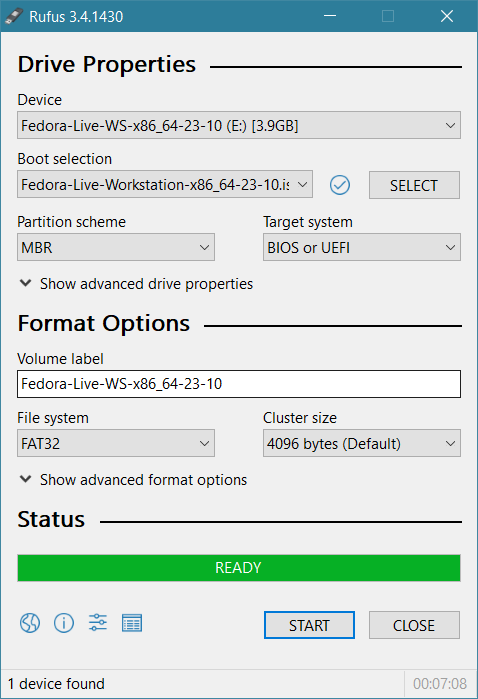
Writing completed, now you have created a USB system boot disk
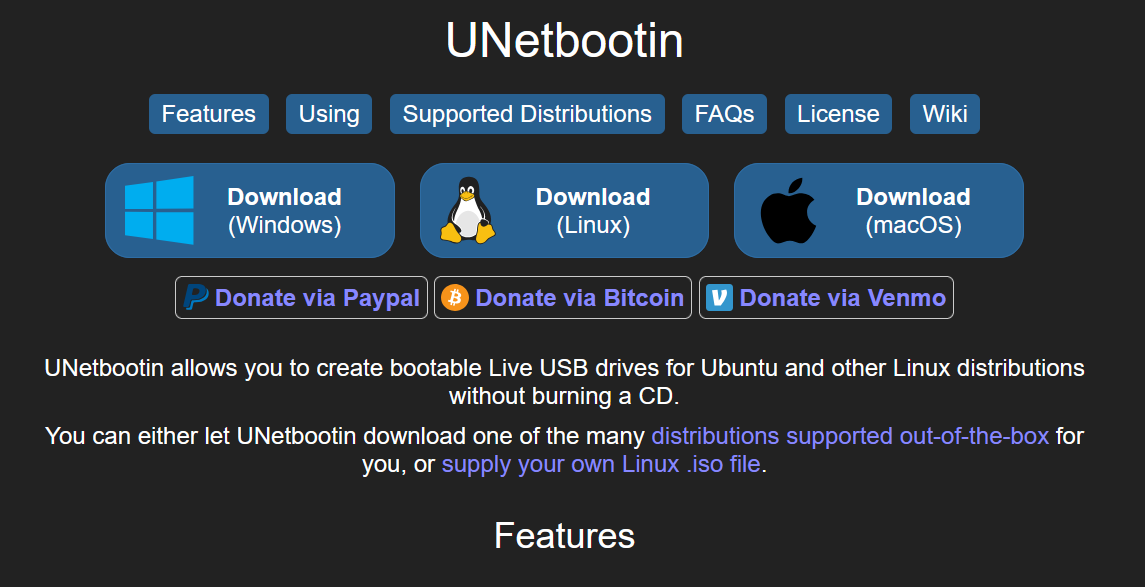
UNetbootin
UNetbootin's official website: http://unetbootin.github.io/
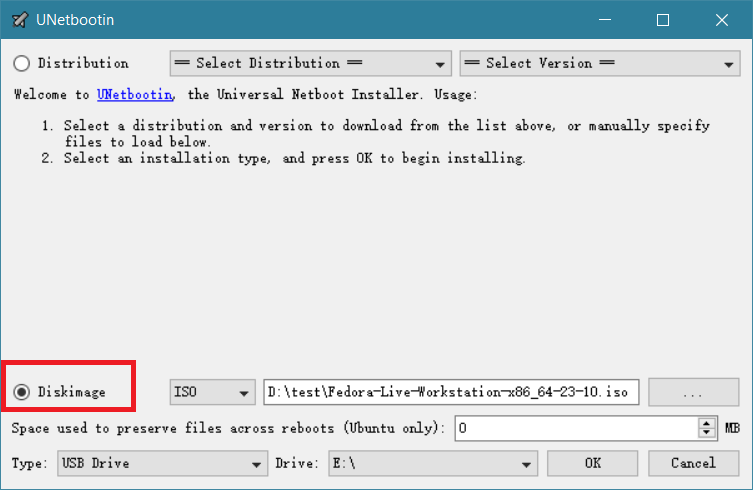
After the download is complete, you can run it by clicking directly. This software can not only write local operating system images but also download operating system images from the internet.
This time we are using a local operating system image, so you need to select Disk Image, then choose the local image file. For Type, select USB Drive, and for Drive, select the corresponding USB drive letter. Finally, click OK to start writing.
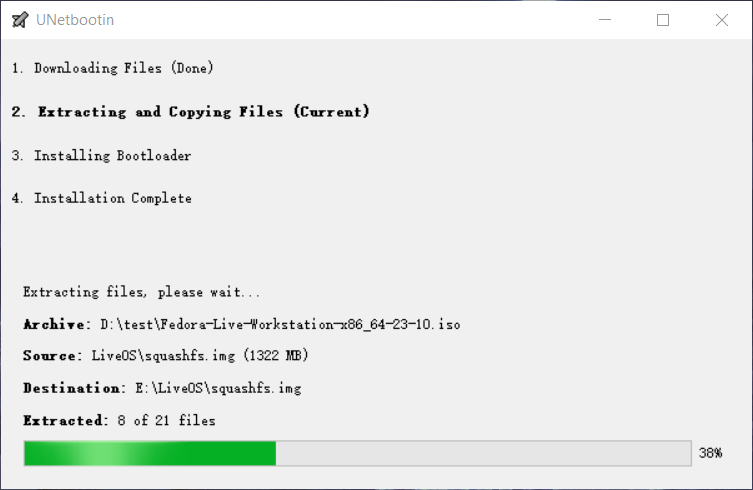
Writing
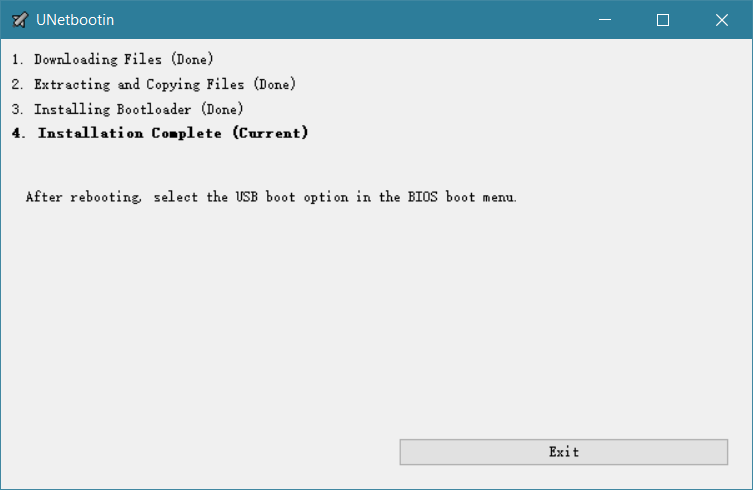
Writing completed, now you have created a USB system boot disk
Boot the computer using a USB drive
Insert the USB drive into the computer's USB port and start the computer. When a motherboard logo screen like the one below appears, press the function key to enter BIOS mode, usually F2, F12, F8, Del, and similar keys. Different motherboards have different keys. However, there is usually a prompt on the startup screen.

After entering the BIOS, you need to set the boot priority. Set the USB drive's boot priority to the highest.
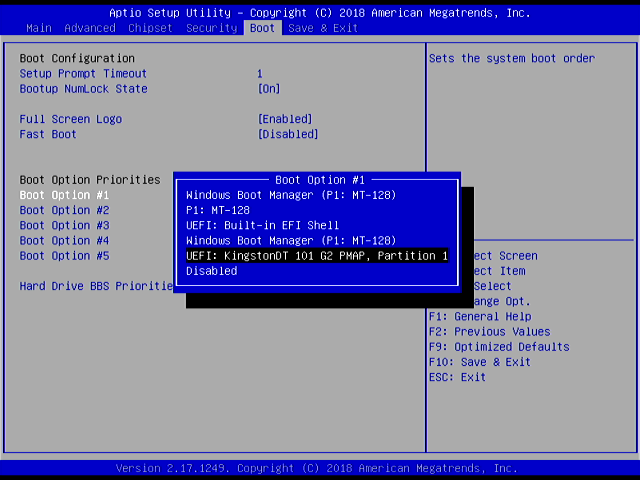
Some BIOS can directly choose a USB drive to boot. No need to set the priority.
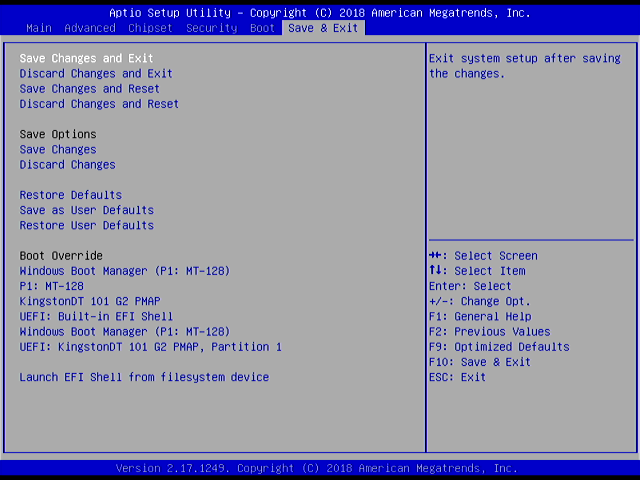
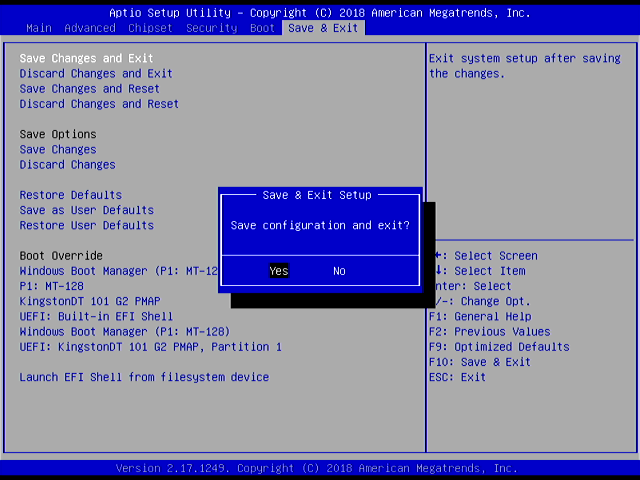
Save the settings and exit.
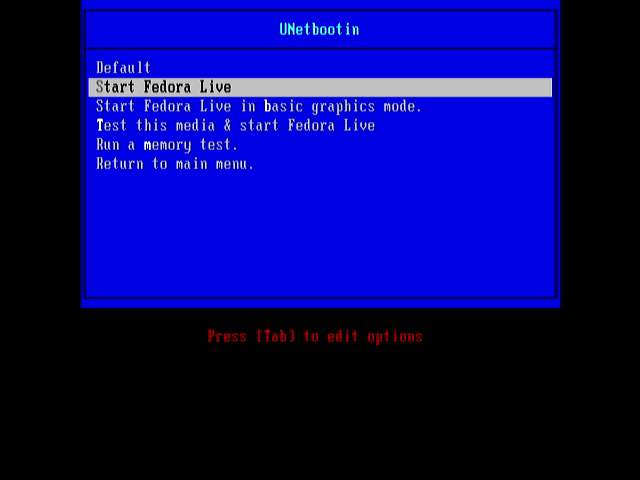
The computer will restart and boot from the USB drive. It has now entered the operating system boot selection screen. Choose to directly boot the live system.
Starting screen

After startup is complete, it will prompt you to enter the live system or proceed with installation. In the end, I directly entered the live system.