Introduction to VirtualBox
VirtualBox is an open-source, cross-platform virtualization software maintained by Oracle that supports running multiple guest operating systems on host operating systems such as Windows, macOS, Linux, and Solaris. By emulating a complete computer hardware environment (such as CPU, memory, hard disk, network card, etc.), it allows users to run multiple isolated virtual systems on a single physical computer simultaneously, without needing to restart or alter the original system. This software is especially suitable for scenarios such as development and testing, learning new systems, running old software, or setting up experimental environments.
VirtualBox official download address: https://www.virtualbox.org/
You only need to download the installation package corresponding to your operating system and then execute the installation. Below, I will demonstrate how to run Fedora 23 and DOS 5.0 on a Windows system using VirtualBox.
Running Fedora 23
First, download the ISO image from Fedora's official website: https://fedoraproject.org/
What I downloaded is Fedora-Live-Workstation-x86_64-23-10.iso
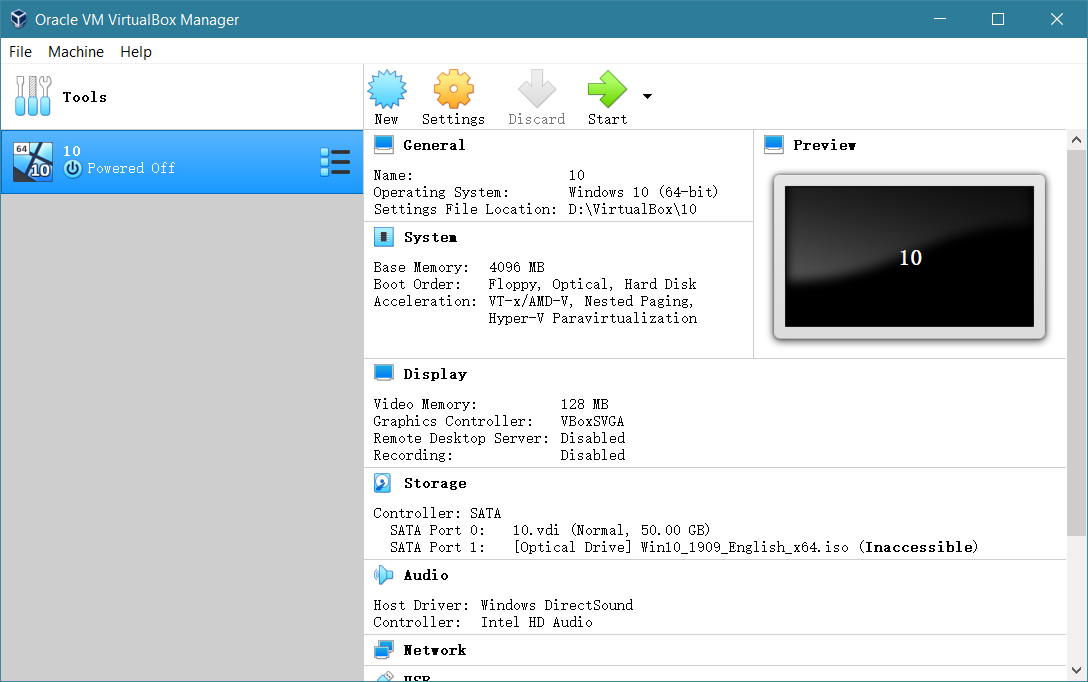
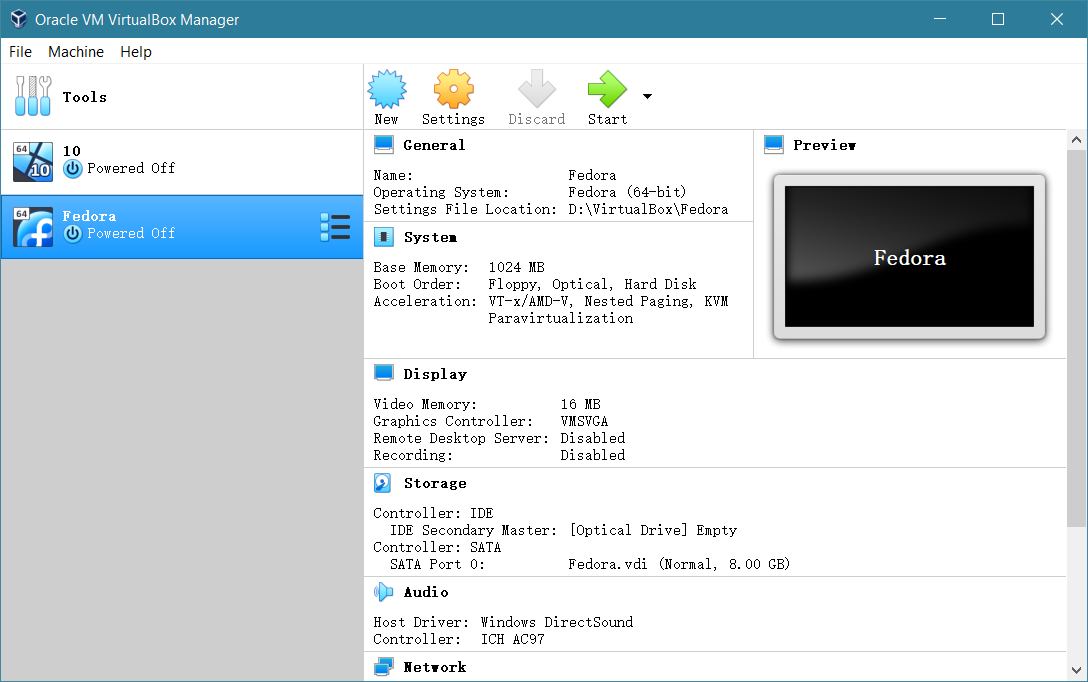
Open the VirtualBox virtual machine. On the left are the virtual machines you have created. On the right is the system information. When you first open it, the list on the left should be empty.
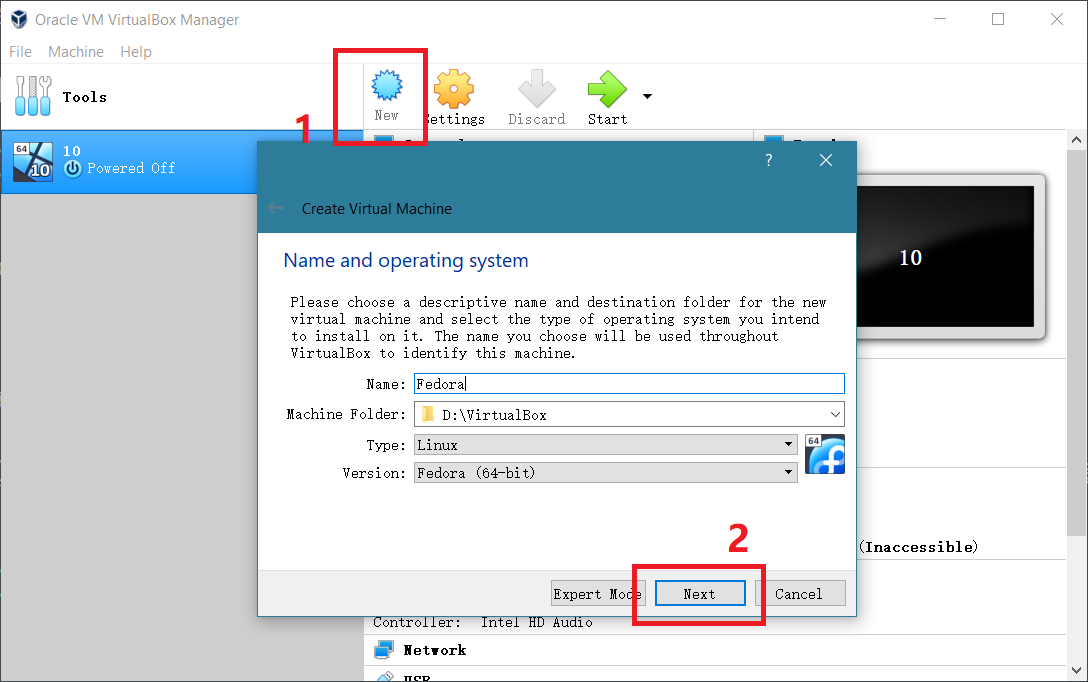
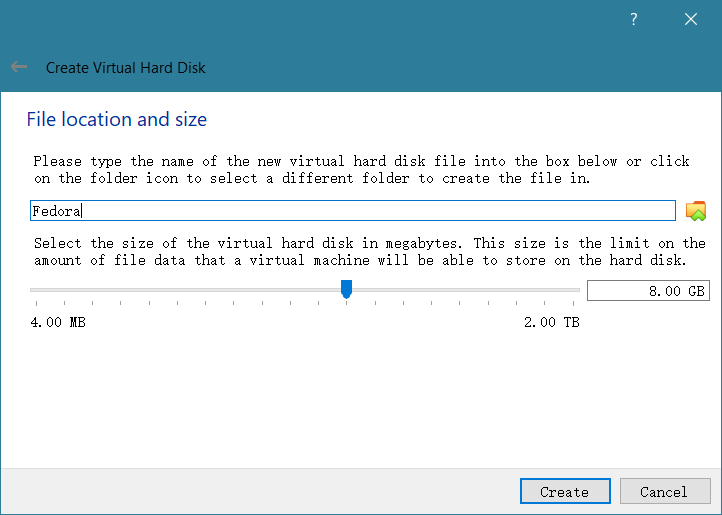
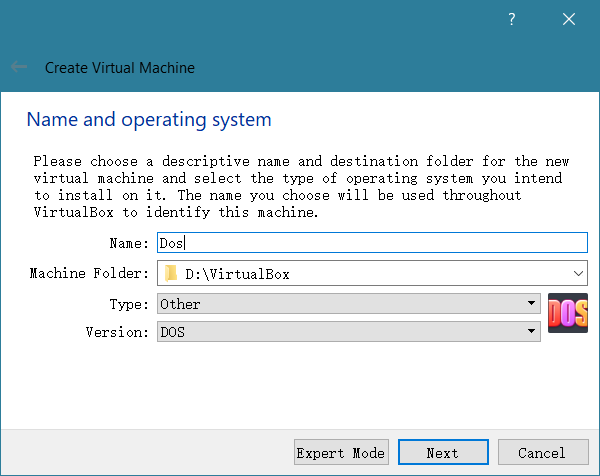
You now need to click the New button to create a new virtual machine, set the name and storage directory. Select the corresponding system type from the list. Then click Next.
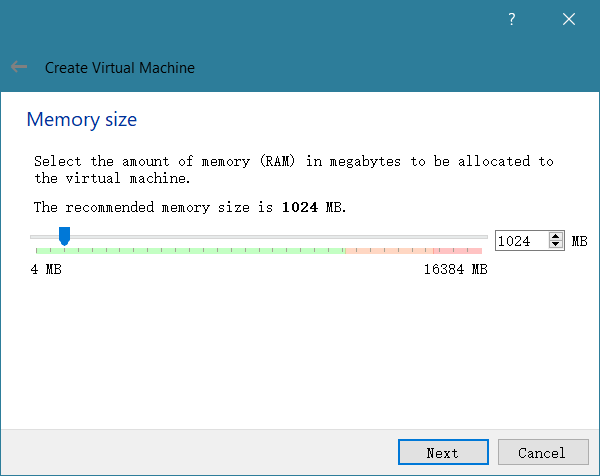
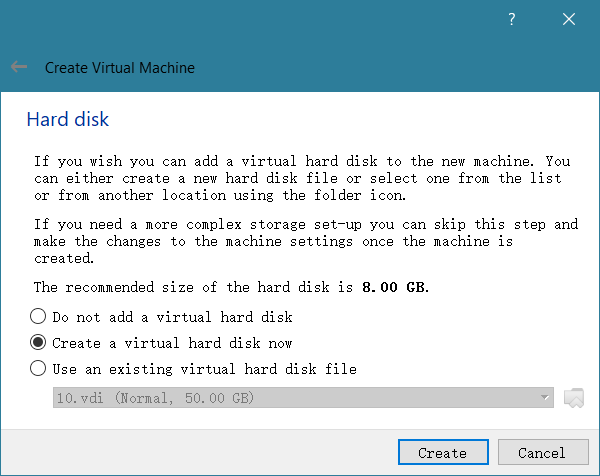
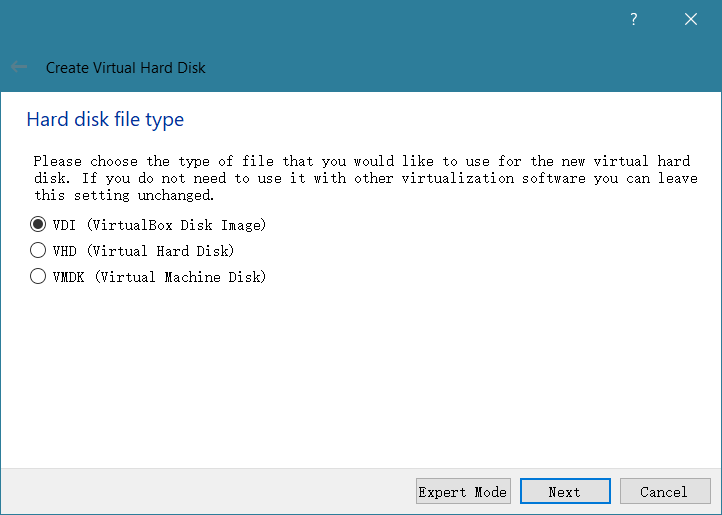
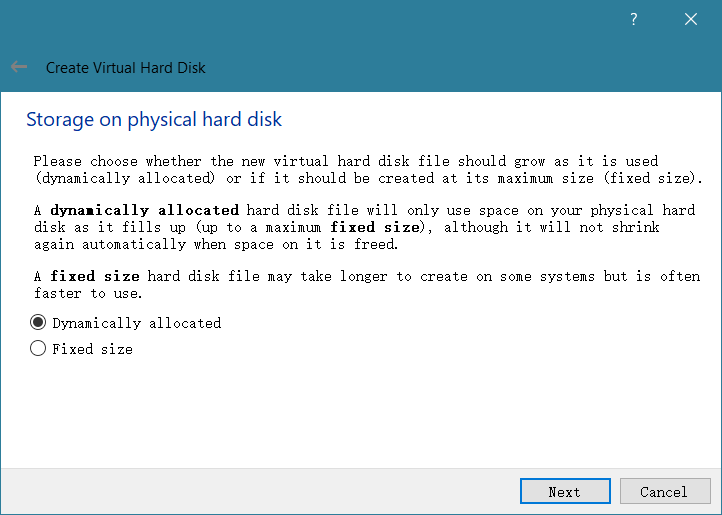
If there are no special requirements, you just need to keep its default settings and keep clicking Next.
After the virtual machine is created, you will find the newly created virtual machine in the list on the left.
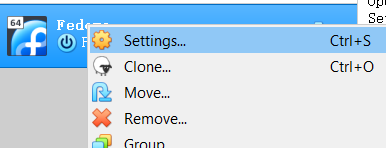
Right-click the created virtual machine and go to Settings
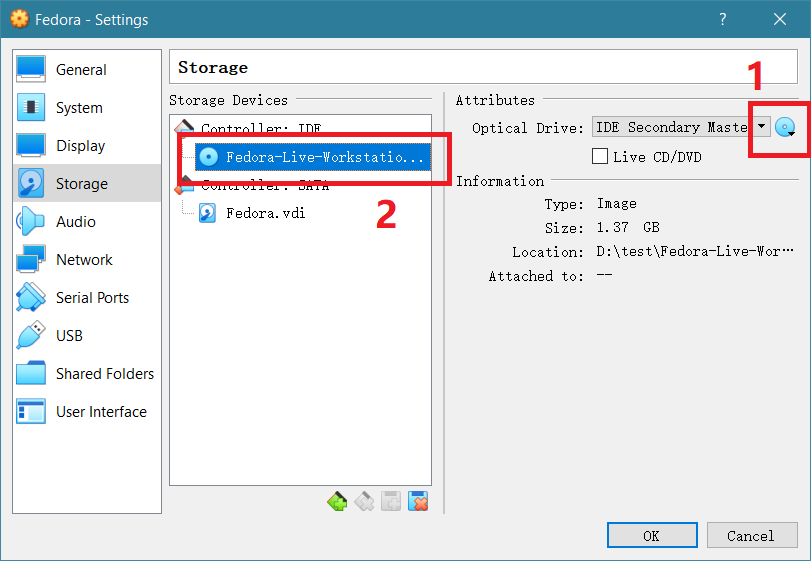
Go to the Storage page, and you need to specify a system image file for this virtual machine to boot from. Click the CD icon on the right, and a file selection window will pop up. Select the downloaded system image Fedora-Live-Workstation-x86_64-23-10.iso, and it will assign a CD drive mounted with this image to the virtual machine. Click OK to save the settings.
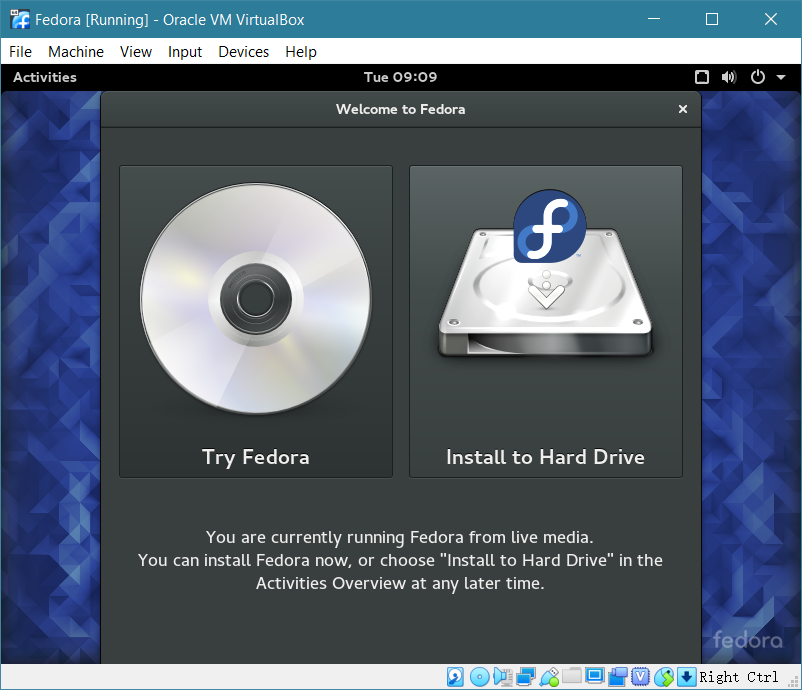
Return to the virtual machine list. Double-click to open the virtual machine. You will find that it enters the system startup interface. This indicates that the system image has successfully run.
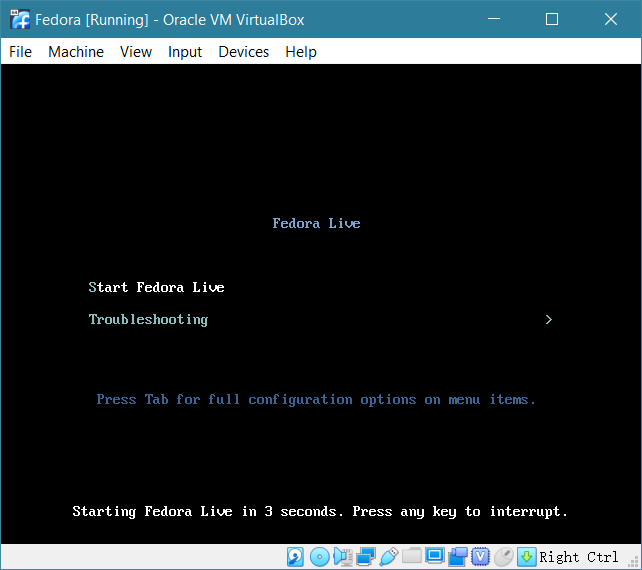
After that, it entered the system installation or trial interface.
Run DOS 5.0
You can obtain the DOS 5.0 image file from the WinWorldPC website: https://winworldpc.com/home
Microsoft MS-DOS 5.00a (3.5-720k) has a total of 3 floppy disk files DISK01.IMG DISK02.IMG DISK03.IMG.
First, create a new virtual machine. I won't repeat the steps. You just need to keep clicking Next using the default settings.
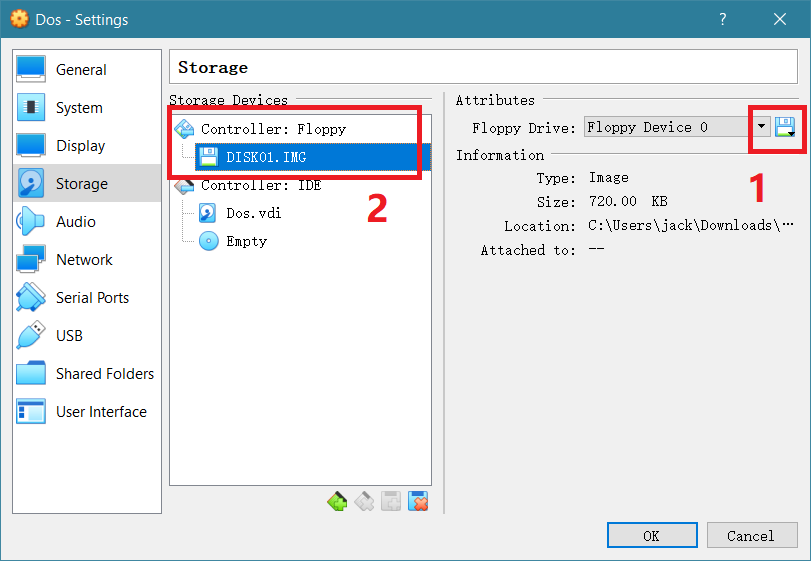
After you have finished creating the virtual machine, right-click to enter Settings in the same way. Switch to the Storage page. This time you need to assign a floppy disk image file to the virtual machine. That is, the first floppy disk image you downloaded, DISK01.IMG, and then click OK to save.
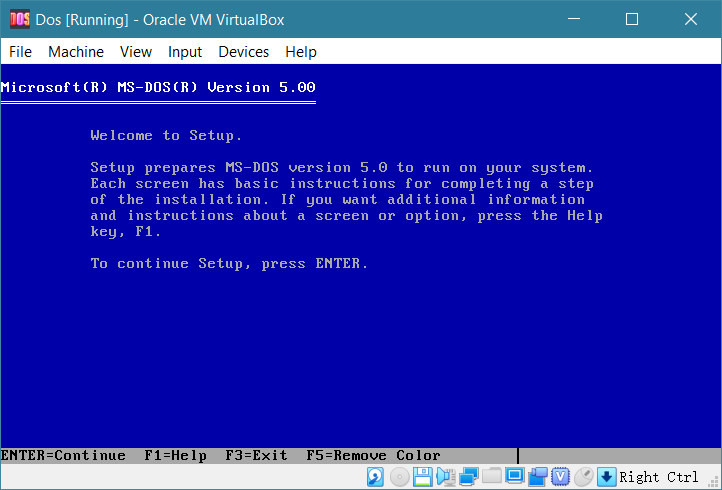
Double-click the virtual machine to run it, and you will enter the installation interface. Follow the prompts to install.
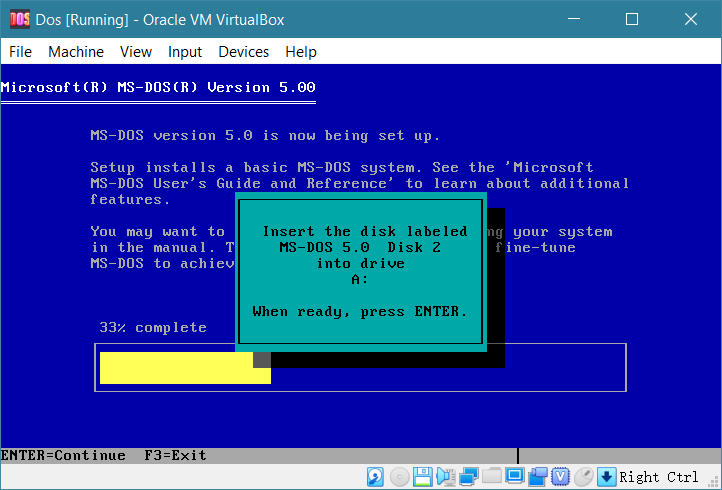
During the installation process, you will be prompted to insert the second floppy disk. Since DISK01.IMG was assigned before, you now need to switch to DISK02.IMG.
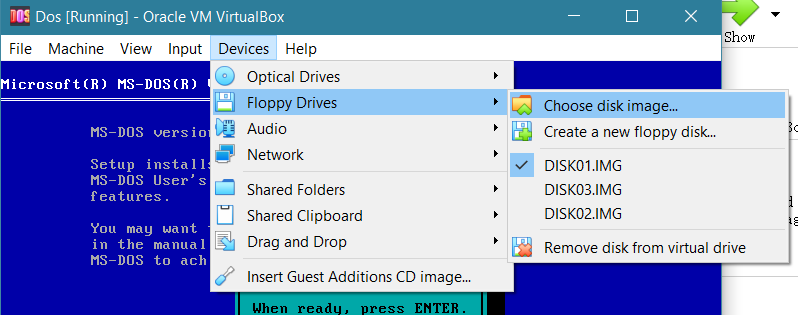
In the top toolbar of VirtualBox, click Devices, Floppy Drives, Choose Disk Image, select DISK02.IMG, and then press Enter to continue the installation process.
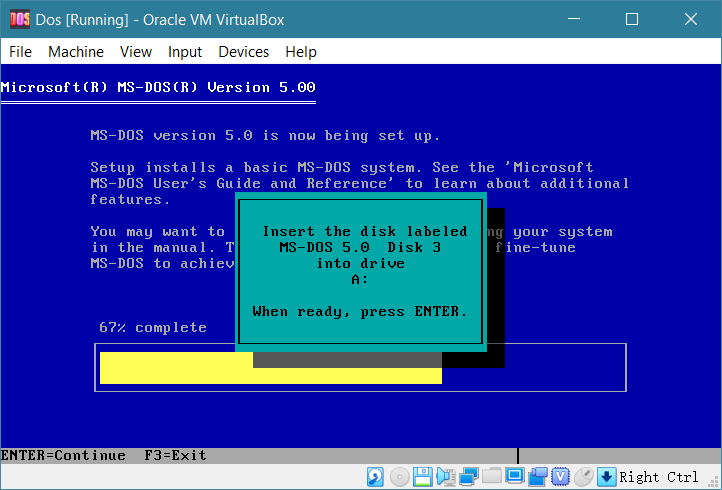
It will then prompt you to insert the third floppy disk, and the operation is the same. Select DISK03.IMG, then press Enter to continue the installation process.
Finally, it will prompt that the installation is complete. Press Enter to restart.
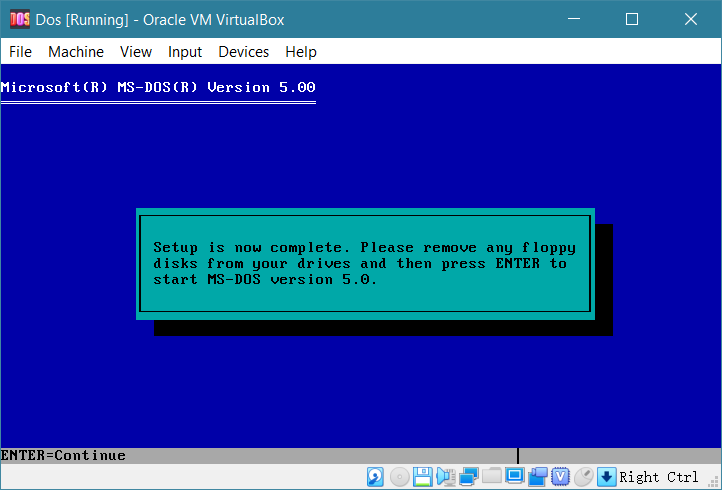
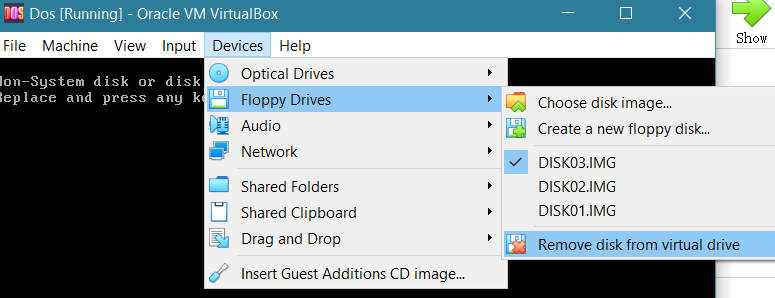
You need to remove all floppy disks. Click Devices, Floppy Drives, Remove disk from virtual drive, and then press Enter
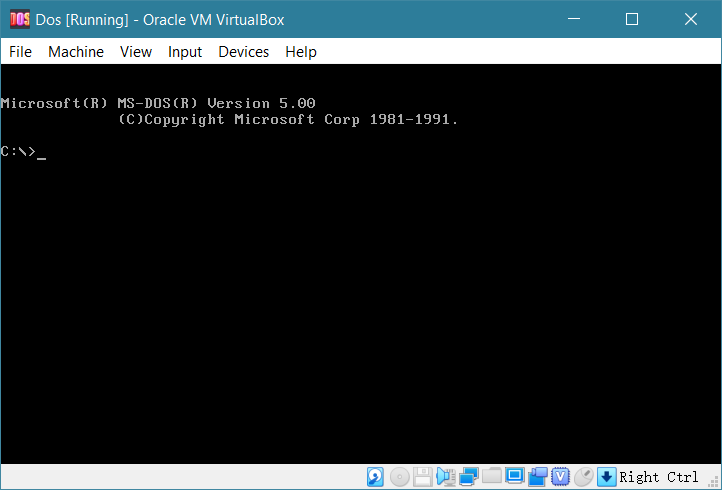
After the system rebooted, it entered DOS 5.0
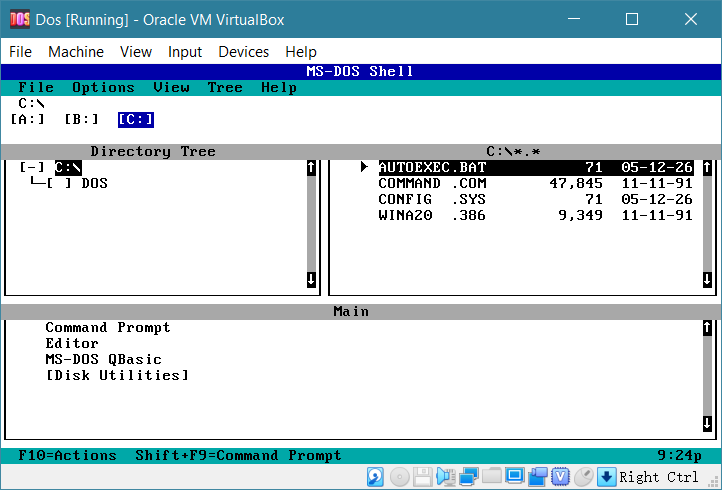
Enter command line mode